This plugin is available for accounts with Plus, Silver, Gold, and Platinum plans.
A report generates a named set of items in your Omeka.net site based on criteria you input using an advanced search form. You can create reports that encompass all items in the system, or choose to report on one specific item, or anything in between. Reports will automatically update as new items are added to your site.
Reports allows users to export these reports of items to an HTML list or a PDF of QR codes (10 per page, by default).
Screencast
Watch a quick screencast demonstrating how a bar code might be used inside a museum. Please note, this screencast uses an older version of Omeka, but the process for generating QR codes is the same.
Instructions
Install the plugin from the admin/plugins page. The Reports tab will then appear in the left navigation of the admin Dashboard (admin/Reports).
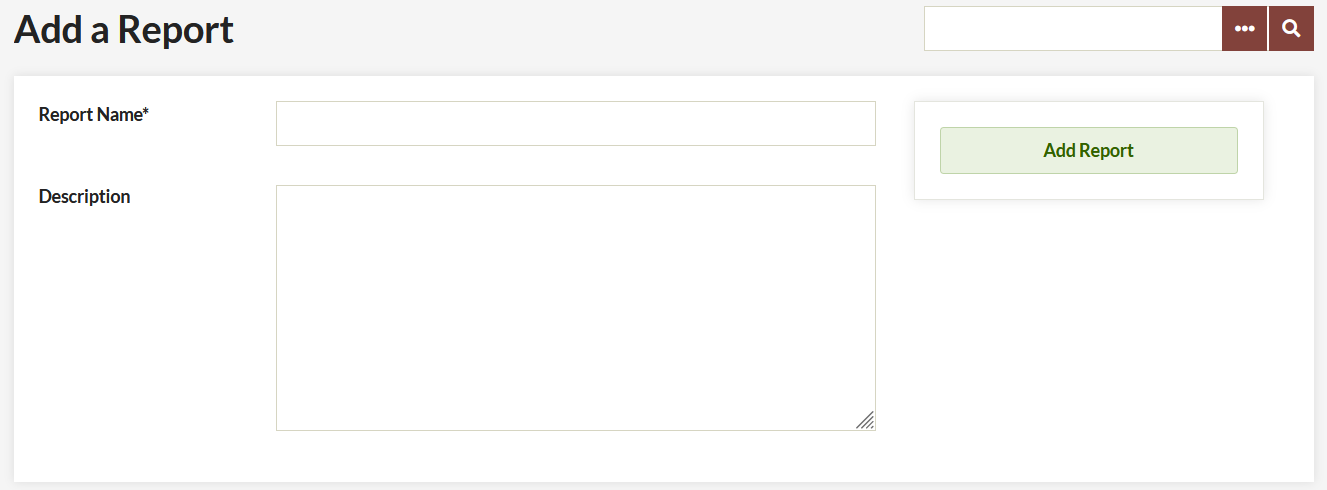
Click the link in the top-left of the screen that reads “Add a Report.”
On the “Add” page, choose a name and a description for the report.
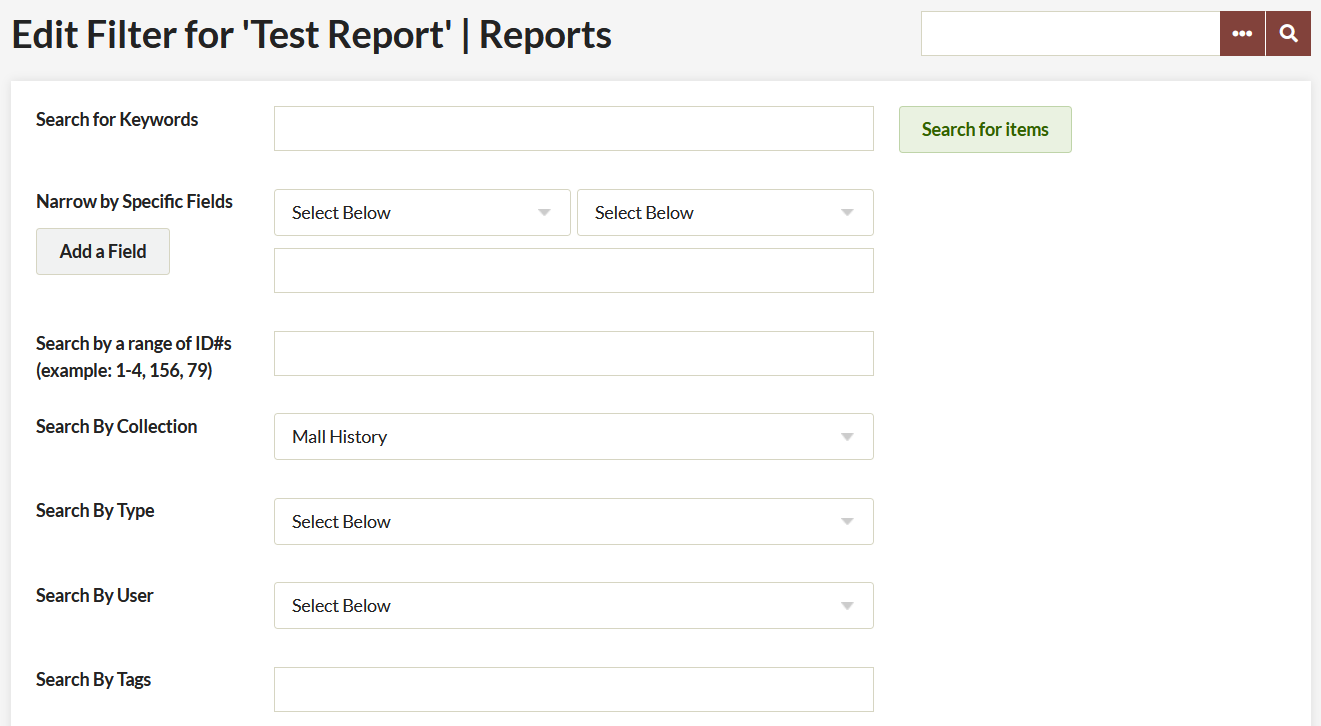
Then you may choose which items to include in the Report on the “Edit Filter” page. This is essentially creating an advanced item query; choose the criteria to select the items needed for this report. If you leave the form blank, all items on your site will be included in the report. Click Search.
The new report now appears on the admin/reports page.
Generating a File
Once you have created a report, you can publish in HTML or as QR Codes.
- From the admin/Reports page, To generate a file, you can either click the “Generate File” button on the main Reports page, or a specific report’s details page (accessible by clicking the report’s name).
- The drop-down menu next to the “Generate File” button allows you to select the type of report that will be generated, HTML or PDF for QR Codes.

The report will be generated in the background. Refresh the report details page as the report’s status changes from “In Progress” to “Completed.”
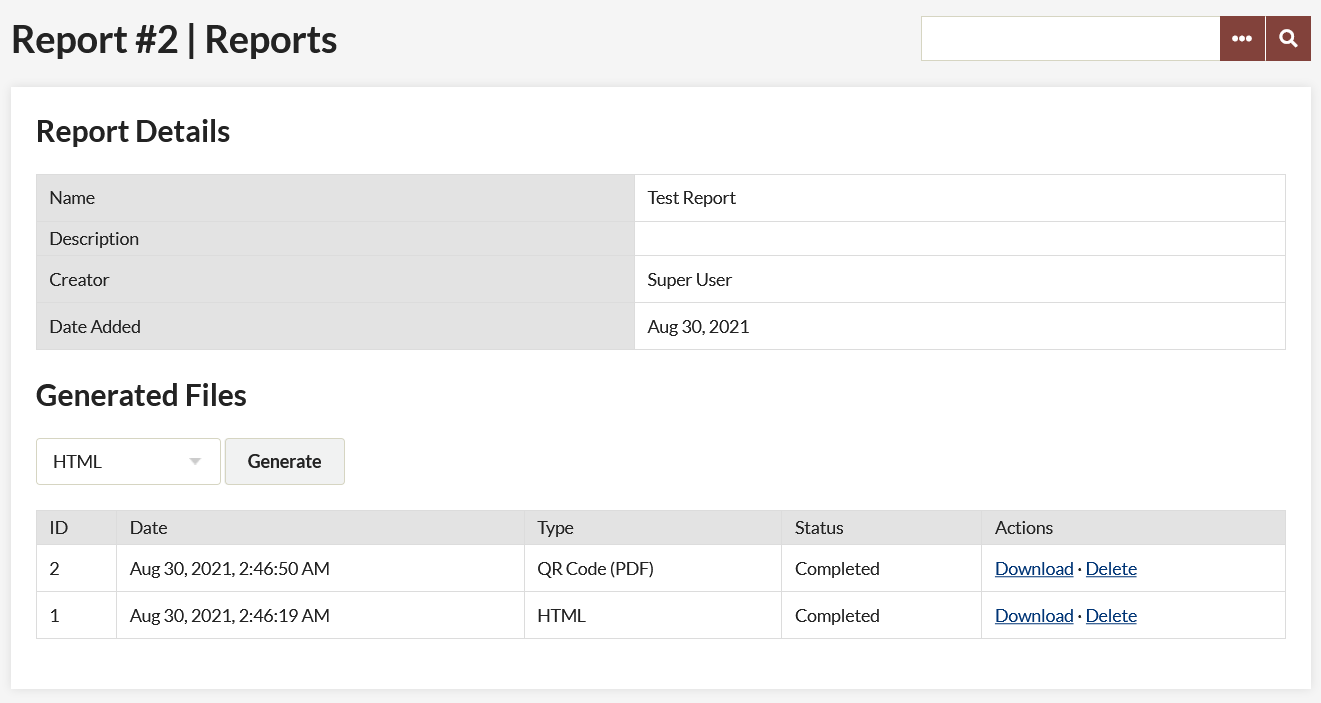
Viewing a File
All report files with a status of “Completed” on the report details page have two links, allowing you to view or delete the file. \
“View file” allows you to view the generated file in your browser. You can then save the file to your local machine, and/or leave it on your Omeka.net site.
“Delete file” deletes the generated file from your Omeka.net site. Before clicking the “Delete file” link, make sure you have saved a copy of the file if you want to keep it.